 Feathers are nice with a bit of a curved spine, so I like to use them in the triangles in pinwheels and other similar shapes.
 windmill mini quilt
 pinwheel sampler quilt
Feathers also work really well for borders. For this one I made a center spine (with a slight curve), and did the lobes on one side and then the other.
 Plan C Schnibbles
 This one is a simple feather border (open heart feather), with no central spine.
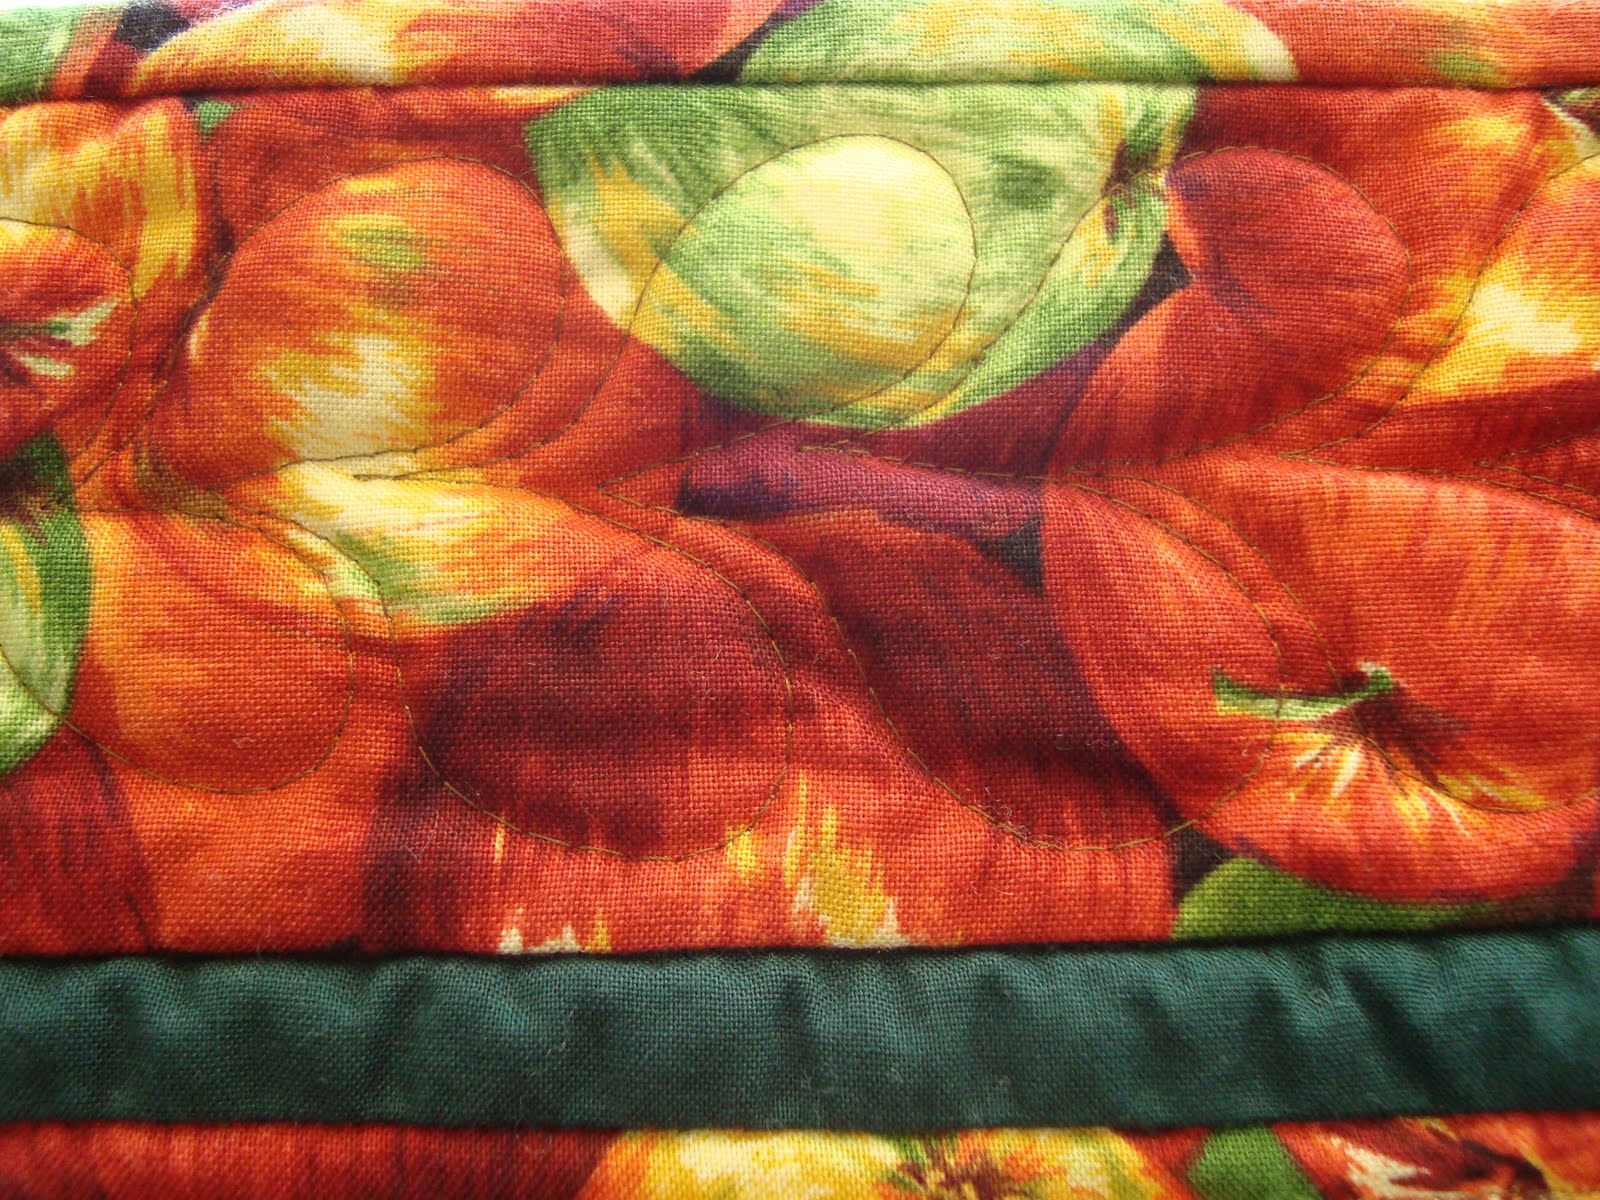 fruit table runner
 This feather border design I used when I had a wide border that I wanted to fill with feathers. For this one I worked down one side of the spine and then up the other side. I backtracked along the spine and between two lobes to start the spine of the next feather.
 D's pinwheel quilt
Feathered Wreaths are a bit more tricky, but only because of the lobes in the center of the circle. Normally lobes are wide at the top and narrow towards the spine, for the center of a curve the lobes are narrow at the top and wide at the spine. They always seem to look odd when I am stitching them, but they seem to look fine in the end.
The outer lobes of a circle need to have very wide ends and be very narrow at the spine to get the lobes to go around the circle, and not to have the lobes coming off the spine at a 90° angle.
I usually mark the center circle of a feathered wreath to make sure it is more even.
 drunkard's path mug rug
 diamonds at large lap quilt
This one has an oval center, with a spine that I echoed before adding the lobes. The lobes also filled in the diamond shape of the block. I echoed the center because the feathers created an odd puffy center that I didn't like the look of.
 nine-patch mini quilt
This feathered wreath is so small (in a 4½" block) that I didn't have room for center lobes. The center circle is echoed.
Here are some other feather variations -
 big border mini quilt
a heart created by two curved feathers
 applique fruit basket mini quilt
Pea pod surrounded by feathers for the corner design. This feather has a slight space between the lobes and the whole feather is echoed to create a different look. The spine is just a single spine but an echoed spine is nice too.
 applique fruit basket mini quilt
A feather with a small feather coming out of the lobes. The slight space between the lobes also.
 free motion quilt sample
This feather was echoed and then I went back with another colour thread over the spine and into the lobes to create veins in the lobes.
 drunkard's path wall hanging
 flying geese mini quilt
 big border mini quilt
a heart created by two curved feathers
 applique fruit basket mini quilt
Pea pod surrounded by feathers for the corner design. This feather has a slight space between the lobes and the whole feather is echoed to create a different look. The spine is just a single spine but an echoed spine is nice too.
 applique fruit basket mini quilt
A feather with a small feather coming out of the lobes. The slight space between the lobes also.
 free motion quilt sample
This feather was echoed and then I went back with another colour thread over the spine and into the lobes to create veins in the lobes.
The next two quilts have little "feather style" variations -
 drunkard's path wall hanging
 flying geese mini quilt
All the quilts are quilt with Invisafil, except for the applique fruit basket mini quilt and the free motion quilt sample which were quilted with Aurifil #50.
I also have an older tutorial for beginning free motion quilting.
One of the best ways to improve at free motion quilting is to take a "7-day challenge". Make up 7 little quilt sandwiches (at least 12" square), and every day for a week, free motion quilt for about 10 mins (try to fill in the square). You will be amazed at how much you improve by the end of the week. Like Diane Gaudynski always says "Keep quilting! Your work gets better everyday."
The free motion quilt sample above is one of my practice pieces from last year when I was learning this style of quilting (my friend Wendy (Inky Threads) and I challenged each other to quilt every day for a month) - I was so pleased with how it turned out that I added binding and turned it into a table mat.
Have a great day and thanks for stopping by!!♥